How to Blend Colored Pencils (A Beginner’s Guide)
Quick answer
To blend colored pencils, layer colors lightly and build them up in stages, working from light shades to dark. Overlap the colors where they meet and use small circular strokes to soften the transition. For the smoothest finish, go over the area with a colorless blender pencil or burnish with a white pencil, pressing firmly to merge the layers.
By the TheColoringPages.net team. Reviewed for accuracy, September 2026.
Want to learn about Blend Colored Pencils? This guide gives clear, practical steps, drawing on colored pencils and years of hands on coloring.
Blending is what turns flat colored pencil work into rich, smooth, professional looking art. Instead of blocks of solid color, blending gives you gradual transitions and depth that make coloring genuinely impressive. The good news is that blending colored pencils is a learnable skill, not a talent, and there are several methods to suit every level and budget.
This guide covers the main ways to blend colored pencils, from simple layering to burnishing and solvent blending, so you can choose the method that works for you.
Quick answer: Blend colored pencils by layering colors lightly, overlapping them where they meet, then smoothing with a colorless blender, a light color, or a blending stump. For a polished finish, burnish with heavy pressure using a light pencil. Softer, wax based pencils blend most easily. Start with layering, then add burnishing as you grow.

What blending is
Understanding what blending achieves helps you approach it well.
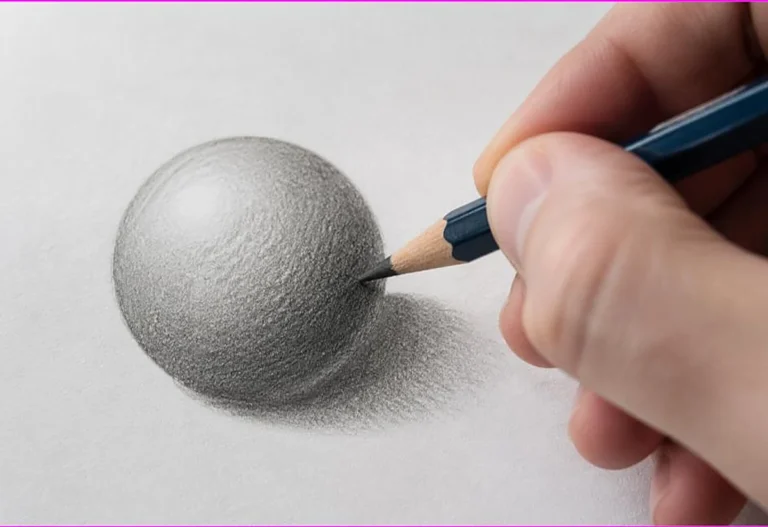
Blending means merging colors smoothly so they transition gradually, rather than meeting in hard lines or sitting as flat blocks. It creates the smooth gradients and rich, layered color that make skilled coloring look professional. A blended sky shifts seamlessly from light to dark, and a blended apple moves smoothly from bright red to deep shadow.
Blending works by combining layers of pencil pigment so the eye sees a smooth transition rather than separate colors. This can be done by layering colors that merge, by physically smoothing the pigment with a tool, or by dissolving and merging it with a solvent. Each method achieves the smooth result in a different way.
The key thing to know is that blending builds on layering. You cannot blend a single heavy layer of color well, but you can blend light, built up layers beautifully. So light layering, covered below, is the foundation of all colored pencil blending. Our guide on coloring techniques for beginners covers layering as a basic skill.
Method 1: layering and overlapping
The simplest blending method is layering and overlapping colors, which every beginner should start with.
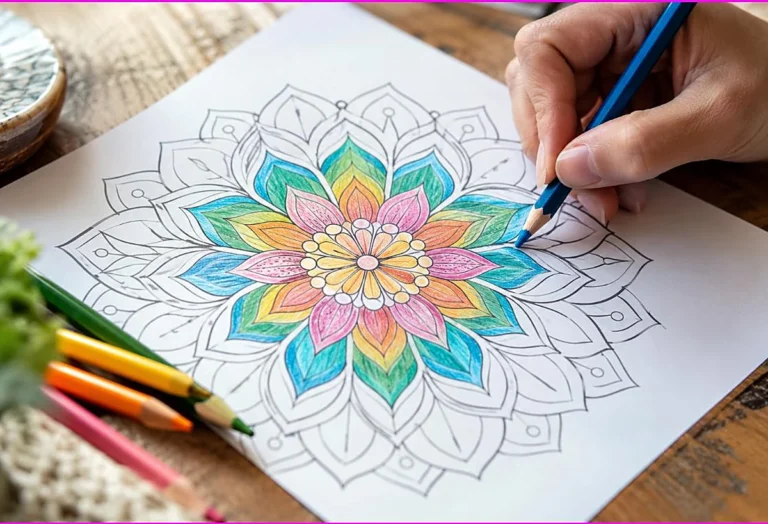
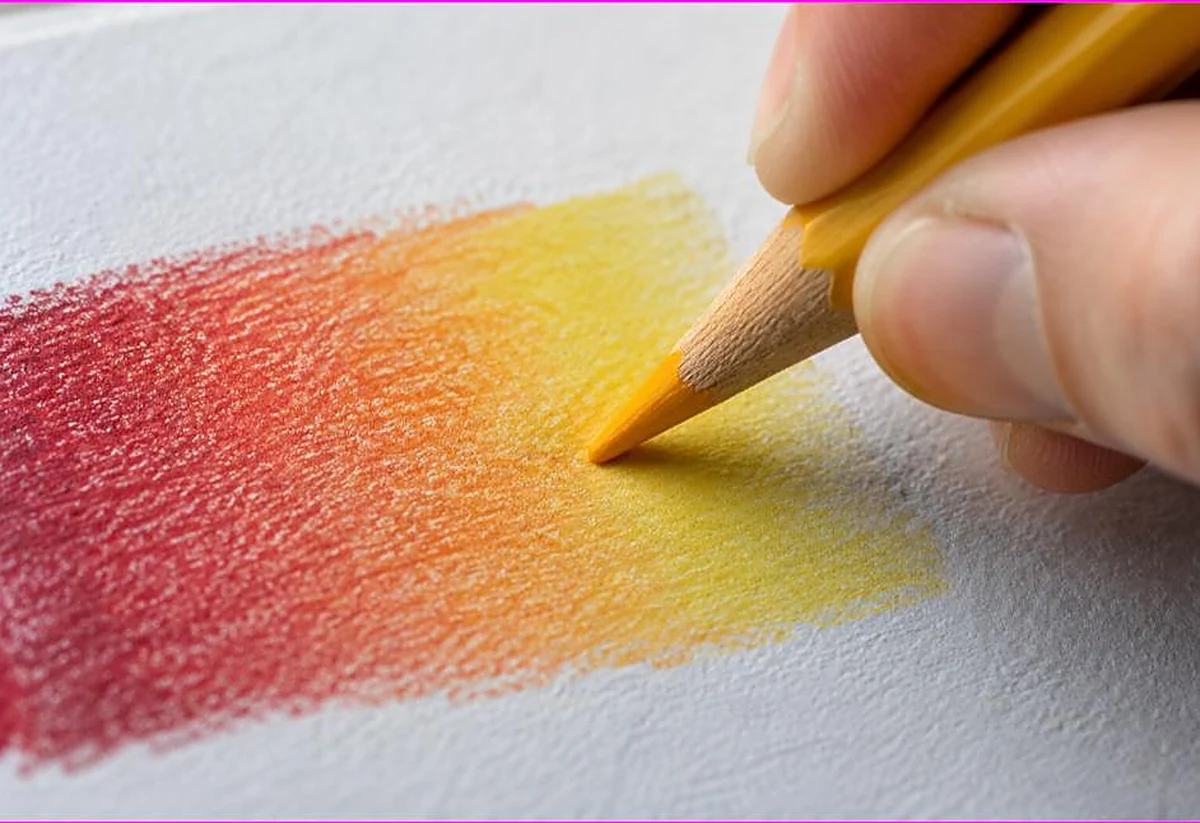
Color each area in light layers rather than one heavy pass. Light layers give smooth, even color and, crucially, leave room to blend. Where two colors meet, overlap them: bring each color into the other’s edge so they mix in the middle. This creates a transition zone where the two colors blend gradually rather than meeting in a hard line.
Build up the blend in layers, going back and forth between the two colors in the overlap area, deepening and smoothing the mix. Using light pressure throughout keeps the blend smooth and controllable. This layering and overlapping method needs no special tools, just your pencils, which makes it perfect for beginners.
This method alone produces good blends, especially with softer pencils. It is the foundation for the other methods, which simply add extra smoothing on top of well layered, overlapped color. Master this first, and you have the basis for all colored pencil blending. Practice with a simple two color gradient, like light blue into dark blue, to build your confidence.
Method 2: using a colorless blender
A colorless blender takes your blends to a smoother, more polished level.
A colorless blender is a pencil with no pigment, just the binder, that smooths and merges the colors you have laid down. After layering and overlapping your colors, go over the area with the colorless blender, pressing firmly. This pushes the pigment together, filling the paper’s texture and merging the colors into a smooth, almost painted finish.
Colorless blenders are inexpensive and available from most pencil brands. They work best over well layered color, since they blend what is there rather than adding pigment. Using one after the layering and overlapping method gives noticeably smoother, richer blends than layering alone. It is a small, worthwhile addition to your kit.
A light colored pencil, like white or cream, can work similarly to a colorless blender, smoothing and merging colors while slightly lightening them. This is a handy trick if you do not have a colorless blender. Our guide on colored pencil layering and burnishing covers these smoothing methods in more depth.

Method 3: burnishing
Burnishing gives the smoothest, most polished finish, and it is a key technique for rich colored pencil work.
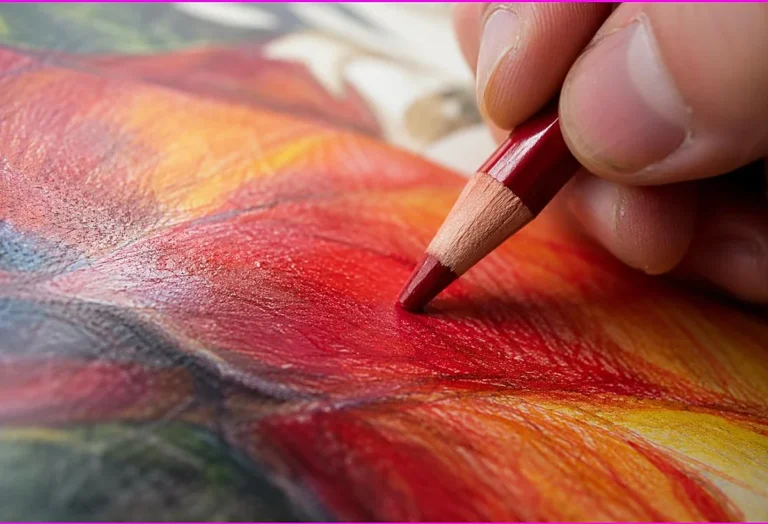
Burnishing means pressing firmly with a pencil, often a light color or a colorless blender, to smooth and merge the layers of color into a glossy, blended finish. After building up your colors in layers, you burnish by going over the area with heavy pressure, which flattens the pigment, fills the paper’s texture completely, and merges everything into a smooth, rich surface.
Burnishing is done last, after layering, since it compresses the paper and makes it hard to add more color afterward. Use a light pencil or colorless blender to burnish, so you do not darken the color unintentionally. The result is a smooth, almost painted look with rich, deep color, which is the hallmark of polished colored pencil art.
Burnishing works best with softer, wax based pencils, which merge easily under pressure. Be aware that heavy burnishing can cause wax bloom, a hazy film, which wipes away easily with a soft cloth. Burnishing takes a little practice to control, but it produces the richest blends. Our guide on colored pencil layering and burnishing covers it in detail.
Method 4: solvent blending
For the smoothest possible blends, solvent blending dissolves and merges the pigment, though it is a more advanced method.
Solvent blending uses a solvent, such as odorless mineral spirits or a blending marker, to dissolve the binder in the pencil pigment, allowing it to merge into a smooth, painted finish. After layering your colors, you apply the solvent with a brush, blending stump, or cotton bud, which melts the layers together into a seamless blend far smoother than dry methods achieve.
This method gives the most professional, painterly results, but it requires extra materials and care. Use it in a ventilated space, test on scrap first, and use it sparingly, since too much solvent can damage the paper. It suits heavier paper that can withstand the solvent. Solvent blending is an advanced technique for those who want the smoothest possible results.
For most colorists, the dry methods, layering, colorless blender, and burnishing, give excellent blends without the extra materials and care solvent requires. Solvent blending is worth exploring once you are comfortable with the dry methods and want to take your blending further. Start with the simpler methods and add solvent later if you wish.
Best pencils for blending
Your pencils affect how easily you can blend, so it helps to know what blends best.
Softer, wax based pencils blend most easily. Their soft, creamy cores lay down plenty of pigment and merge smoothly under layering, a colorless blender, or burnishing. This is why brands like Prismacolor are favored for blending. Softer pencils are the easiest to blend with, especially for beginners. Our guide on the best colored pencils for adult coloring covers options.
Oil based pencils, which are firmer, blend well too but take a little more effort, since they lay down less pigment per pass. They hold a sharp point and resist breakage, which suits detail, and they avoid wax bloom. Harder, cheaper pencils blend least well, since they lay down little pigment and resist merging.
So for the easiest blending, choose softer, more pigmented pencils. That said, you can blend with any pencils using the methods above, so there is no need to buy new pencils to start. Practice blending with what you have, and consider softer pencils if you want easier, richer blends as your skills grow. Good paper with enough texture also helps blending, as our guide on the best paper for coloring pages covers.
A simple blending practice drill
A short practice drill builds your blending skill quickly.
Draw or find a simple rectangle, and practice blending two colors across it. Start with the first color at one end, coloring lightly. Bring the second color in from the other end. In the middle, overlap them, going back and forth to merge them into a smooth transition. Aim for a gradient with no visible line where the colors meet.
Once you can do a smooth two color gradient by layering and overlapping, try smoothing it further with a colorless blender or a light pencil, and notice how much smoother it becomes. Then try burnishing a small area to see the polished finish. Practicing these on a simple shape lets you focus on the technique without a complex design.
Repeat the drill with different color pairs, since some blend more easily than others. Colors close on the color wheel blend most smoothly, while very different colors can look muddy where they meet. This practice builds both your technique and your sense of which colors blend well. Regular, relaxed practice makes blending feel natural. Our collection of free printable coloring pages gives you designs to apply your blending to.

Blending different color combinations
Which colors you blend affects how smooth the result looks, so a little knowledge helps.
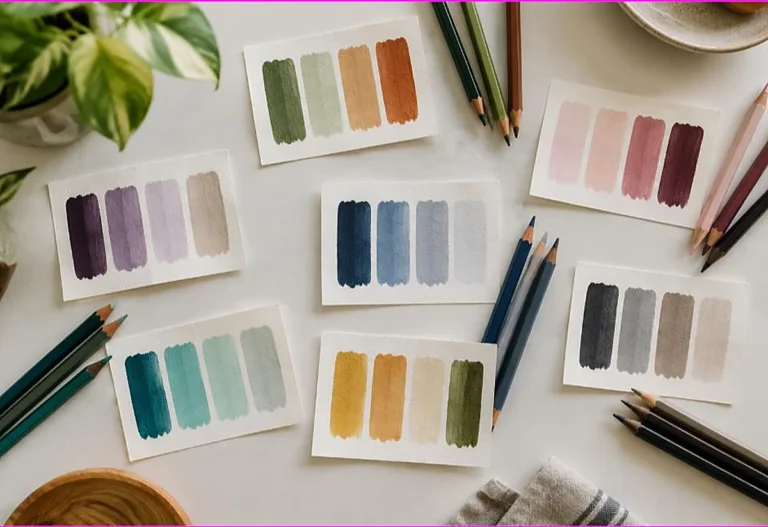
Colors close together on the color wheel blend most smoothly. Blending light blue into dark blue, or yellow into orange, gives a natural, seamless gradient because the colors are related. These analogous blends are the easiest and most reliable, so they are a good place to start. Our guide on color theory for coloring covers the color wheel.
Blending very different colors can look muddy where they meet, since mixing opposite colors tends toward brown or gray. If you want to blend contrasting colors, blend them through a transition color, or keep a small gap of a neutral tone between them, rather than merging them directly. This avoids the muddy look and keeps the blend clean.
Building blends from light to dark within one color family gives the richest, most natural results, which is why shading a single object often blends most smoothly. As you practice, you will develop a feel for which combinations blend well. Experimenting on scrap paper builds this sense, so you know which colors to reach for when blending a page. Our guide on what colors go together helps you choose harmonious combinations.
Frequently asked questions about blend colored pencils
How do you blend colored pencils?
Blend by layering colors lightly and overlapping them where they meet, then smoothing with a colorless blender, a light color, or by burnishing with heavy pressure. Softer, wax based pencils blend most easily. Start with layering and overlapping.
What is a colorless blender?
A colorless blender is a pencil with no pigment, just the binder, that smooths and merges the colors you have laid down. Used over well layered color, it pushes the pigment together for a smooth, polished blend. It is inexpensive and effective.
What is burnishing?
Burnishing means pressing firmly, often with a light pencil or colorless blender, to smooth and merge layers of color into a glossy, blended finish. It is done last, gives the richest blends, and works best with soft, wax based pencils.
Why won’t my colored pencils blend?
They may be too hard, laying down too little pigment to blend, or you may be pressing too hard from the start, leaving no room to blend. Use softer pencils, build up in light layers, and try a colorless blender or burnishing to smooth them.
Do I need special pencils to blend?
No. You can blend any colored pencils using layering, a colorless blender, and burnishing. Softer, wax based pencils blend most easily, so they help, but you can start with what you have and upgrade later if you want easier blends.
The takeaway on blend colored pencils
Blending transforms colored pencil work from flat to rich and professional. Start with layering and overlapping colors, then smooth with a colorless blender or a light pencil, and burnish for a polished finish. Solvent blending offers the smoothest results for advanced work. Softer pencils blend most easily, but any pencils work with practice. Build the skill with a simple gradient drill, and enjoy the rich, smooth results blending brings.
Ready to practice blending? Browse our free printable coloring pages and try your blends on a design you love. Every one is free to download and print.