Coloring Techniques for Beginners (4 Skills That Make a Difference)
Quick answer
The easiest techniques for beginners are outlining each shape before filling it, coloring in one direction with light even strokes, and layering gradually from light to dark. Start with a small palette, keep your pencils or markers sharp, and build color slowly so you can deepen tones without harsh lines.
By the TheColoringPages.net team. Reviewed for accuracy, September 2026.
This guide to Techniques for Beginners gives clear, practical answers, drawing on drawing and years of hands on coloring.
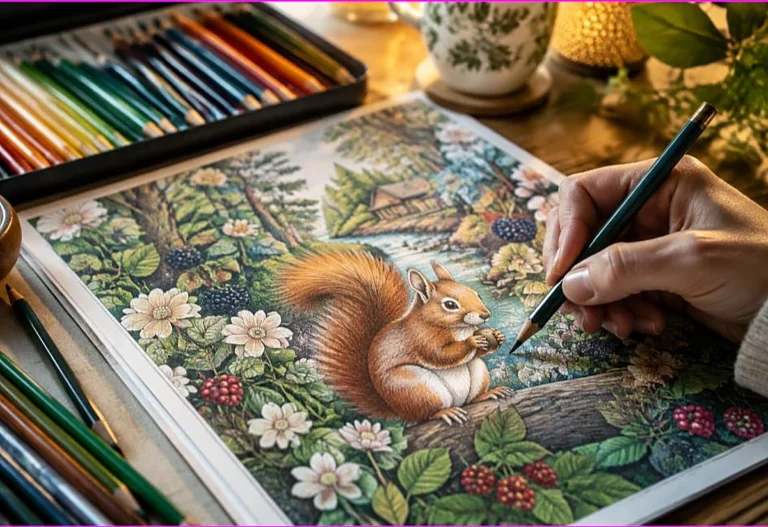
If your coloring looks flat or patchy and you are not sure why, a few simple techniques will change that fast. You do not need talent or expensive supplies. Four beginner techniques, coloring evenly, layering lightly, simple blending, and basic shading, instantly improve any coloring. Learn these, and your pages will look noticeably richer and more polished.
This guide covers the four techniques every beginner should learn, plus how to choose colors and practice, all explained simply so you can start improving today.
Quick answer: Four beginner techniques transform your coloring: color in the same direction for even coverage, build up light layers instead of pressing hard, blend two colors where they meet, and add a darker shade along edges for depth. These four skills instantly improve any coloring, work with any supplies, and are easy to learn with a little practice.

Technique 1: even, directional strokes
The first and most important technique is coloring evenly, which instantly makes your pages look neater.
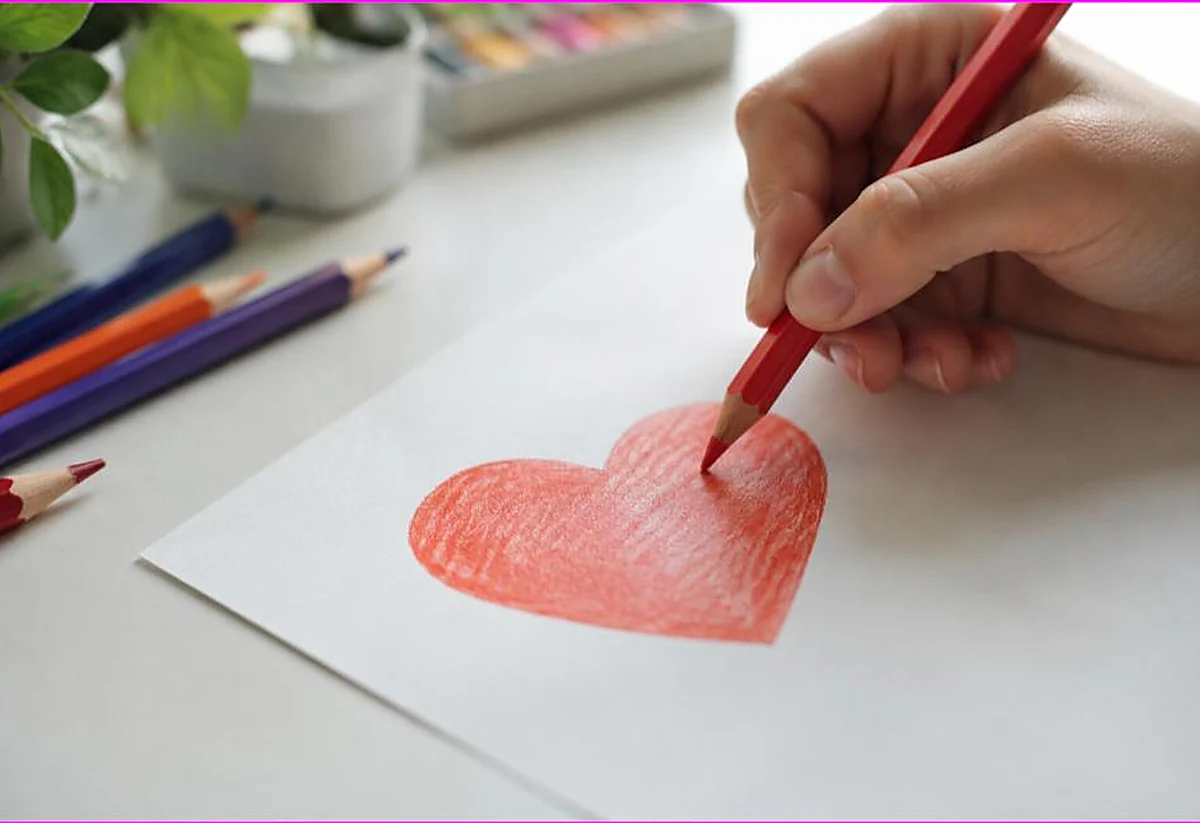
Color in the same direction, rather than scribbling back and forth randomly. Moving your pencil or crayon consistently in one direction, and slightly overlapping each stroke, gives a smooth, even fill without the patchy look that random scribbling creates. This single change makes coloring look far more polished.
For colored pencils, small circular motions or consistent light strokes both work well for even color. For markers, keep the tip moving steadily and do not let one area dry before you reach the next, which prevents streaks. Matching your stroke to your tool gives the smoothest result. Our guide on how to color large areas evenly covers this in depth.
Even coloring is the foundation for everything else, so it is worth practicing first. Once you can fill a shape smoothly and evenly, your pages already look better, and you have the base for blending and shading. Practice on simple, large shapes until even coverage feels natural. It is the easiest technique to learn and makes the biggest immediate difference.
Technique 2: light layering
The second technique is building color in light layers, which gives you control and richness.
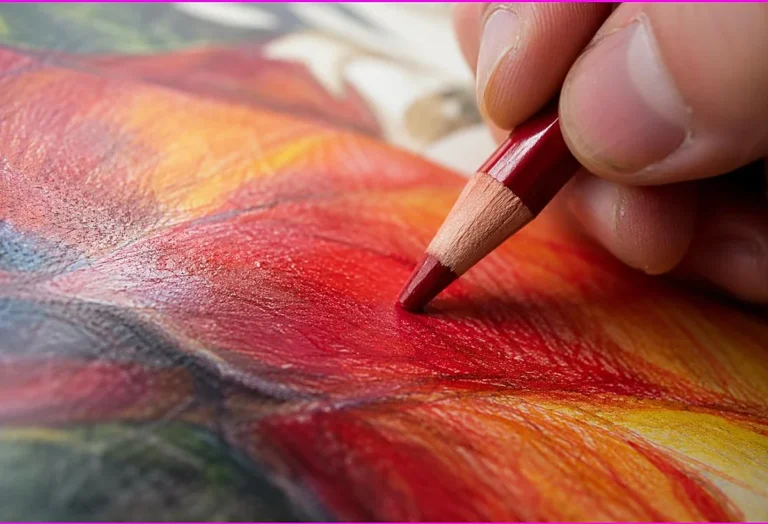
Instead of pressing hard to get dark color in one pass, use light pressure and build up the color in several layers. Light layering gives smoother, more even color, lets you control how dark the color becomes, and makes blending possible. Pressing hard from the start gives patchy, uncontrollable color that is hard to adjust or blend.
Layering also lets you build depth and richness. Adding layers gradually deepens the color and, with different shades, creates subtle variation that flat, single pass color lacks. This is the basis of both blending and shading, which build on layered color. So light layering is a key habit to develop early.
It takes a little patience to build color in layers rather than pressing for instant results, but the payoff is worth it. Layered color looks richer and more professional, and it gives you control the heavy handed approach lacks. Start using light pressure and building up, and you will see your coloring improve. Our guide on colored pencil layering and burnishing covers advanced layering.
Technique 3: simple blending
The third technique is blending, merging colors smoothly, which gives coloring its rich look.
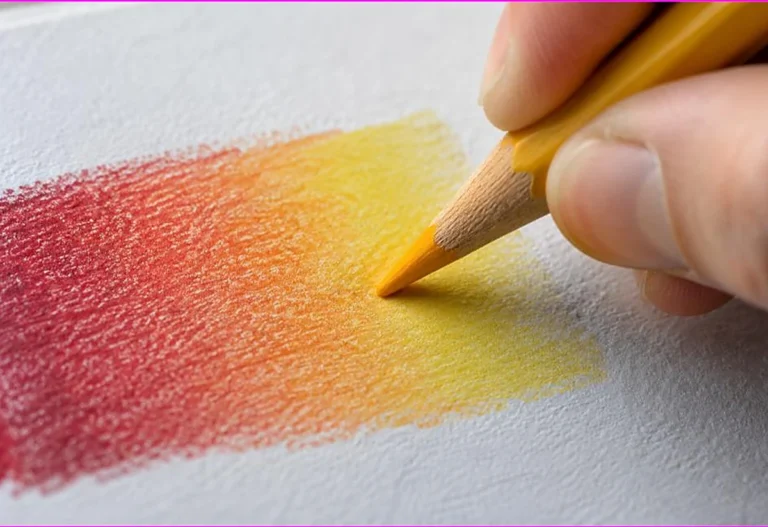
Start with simple blending: where two colors meet, overlap them so they merge gradually rather than meeting in a hard line. Color the first color, then bring the second color into its edge, overlapping in the middle so the two blend. This creates a smooth transition that looks far more sophisticated than blocks of flat color.
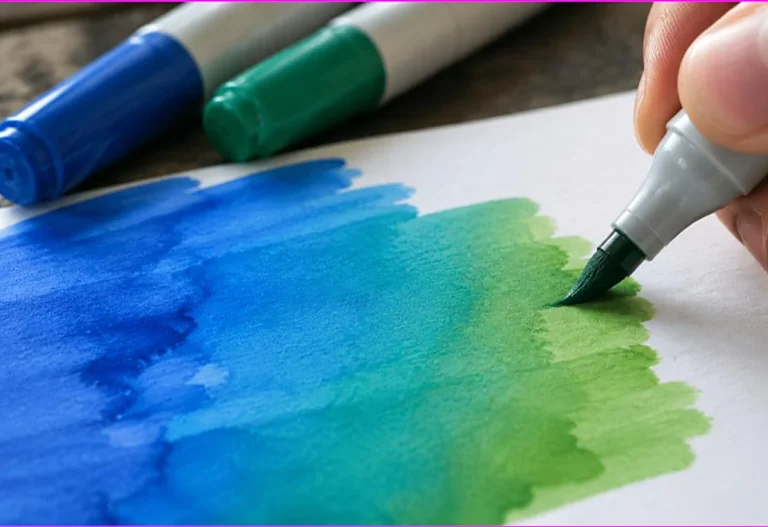
You can smooth the blend further with a lighter color over the join, a colorless blender, or, with pencils, by burnishing, pressing firmly to merge the layers. With markers, blend while the ink is wet so the colors merge naturally. Each tool has its method, but the goal is the same: a smooth transition. Our guides on blending colored pencils and blending markers cover each.
Blending is where coloring starts to look like art. Even simple blending, two colors merging where they meet, noticeably lifts a page. Start with a gentle gradient, like light blue blending into dark blue for a sky, and build your confidence. Blending builds on the even coloring and layering you have practiced, so those foundations make it easier.

Technique 4: basic shading
The fourth technique is shading, adding light and shadow, which gives coloring depth.
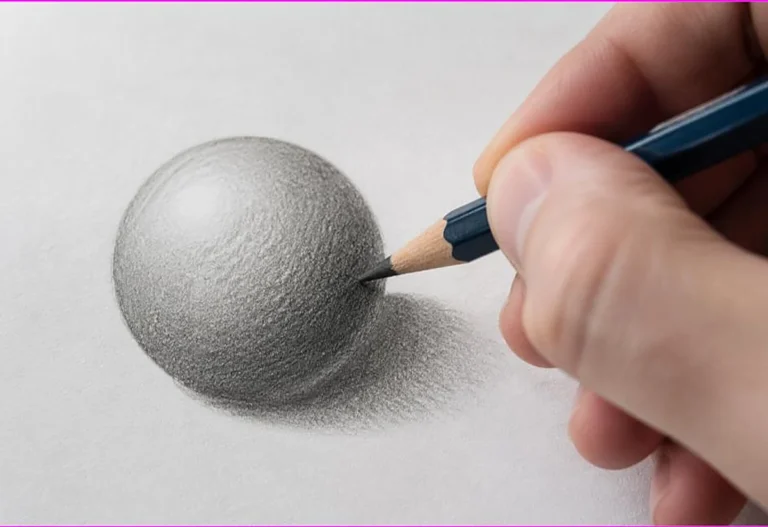
Basic shading means darkening the areas where shadows would fall and keeping other areas lighter. Pick one direction for your light source, then add a darker shade along the edges facing away from the light, blending it into the lighter color. This simple contrast between light and dark makes objects look rounded and three dimensional rather than flat.
The easiest way to start is to darken along the edges of a shape and keep the center lighter, which suggests roundness. For example, shading the edges of a ball and leaving the center light makes it look spherical. Building the shadow in light layers, and blending it into the base color, gives a smooth, realistic effect. Our guide on how to shade a coloring page covers this in depth.
Shading takes a little practice to judge where light and shadow fall, but even simple edge shading adds noticeable depth. Combined with blending, it transforms flat coloring into rich, dimensional art. This is the most advanced of the four beginner techniques, so learn it once even coloring, layering, and blending feel comfortable. It builds on all of them.
Choosing colors that work
Beyond technique, choosing colors well makes your coloring look intentional and harmonious.
You do not need to master color theory to choose good colors, but a few simple ideas help. Pairing colors that sit next to each other on the color wheel, like blue, teal, and green, gives a calm, harmonious look. Pairing opposite colors, like blue and orange, gives bold contrast. Using one bright color with neutrals is always safe. Our guide on what colors go together gives a cheat sheet.
Planning a small palette before you start helps too. Choosing a few colors that work together, and using them across the page, gives a unified, intentional look rather than a random mix. This is especially effective for mandalas and patterns, where repeating colors creates harmony. A little planning makes a big difference.
Good color choices work alongside good technique. Even the best blending and shading look better with colors that harmonize, and simple flat coloring looks more polished with a thoughtful palette. So as you build your techniques, also give a little thought to your colors. Our guide on color theory for coloring covers the wheel and schemes if you want to go deeper.
Practice exercises
A few simple exercises help you build these techniques quickly.
For even coloring, fill several large, simple shapes, focusing on consistent, overlapping strokes in one direction. Aim for smooth, gap free color. This builds the foundation and quickly becomes natural. For layering, color the same shape in light layers, building up the depth gradually, and notice how much smoother and richer it looks than a single heavy pass.
For blending, practice gradients: color a strip that shifts from one color to another, overlapping them in the middle to blend. A sky that goes from light to dark blue is a classic exercise. For shading, take a simple shape like a circle and shade one side darker to make it look like a ball, practicing where light and shadow fall.
Do these exercises on simple pages or scrap paper, where you can focus on the technique without worrying about a detailed design. Once each feels comfortable, apply it to your coloring pages. Regular, relaxed practice builds these skills steadily, and the improvement is genuinely rewarding. Our collection of free printable coloring pages gives you plenty to practice on.
Putting it all together
Once you have the four techniques, combining them is what creates truly polished coloring.
A finished, professional looking page uses all four together: even, layered color as the base, blending for smooth transitions, shading for depth, and good color choices throughout. You might color an object with even layers, blend where colors meet, shade one side for depth, and choose a harmonious palette. Together these techniques create the rich, dimensional look of skilled coloring.
Build up to combining them gradually. Master each technique on its own first, then start using two together, then all four. There is no need to rush, since coloring is enjoyable at every level. Each technique you add makes your pages a little richer, and combining them is deeply satisfying.
Remember that the goal is enjoyment as much as skill. These techniques make coloring more absorbing and rewarding, but coloring is meant to be relaxing and fun. Learn the techniques at your own pace, apply them when you feel like it, and enjoy the process. Better coloring is a happy side effect of an activity you love. Our guide on the benefits of coloring for adults covers the enjoyment.

Common beginner mistakes to avoid
A few common mistakes hold beginners back, and avoiding them speeds your improvement.
Pressing too hard is the most common. Heavy pressure gives patchy, uncontrollable color that cannot be blended or adjusted, and it wears down pencils fast. Use light pressure and build up in layers instead, which gives smoother, richer, more controllable color. This one change fixes many beginner coloring problems.
Rushing is another. Coloring quickly and carelessly gives messy, uneven results, while taking your time gives smooth, neat color. Coloring is meant to be a relaxed, unhurried activity, so slow down and enjoy it. The calm pace not only improves your results but is part of what makes coloring soothing.
Ignoring color choices is a third mistake. Grabbing colors at random can give a jumbled look, while choosing a few colors that work together gives a harmonious, intentional result. A little thought about your palette makes a big difference. Our guide on what colors go together helps. Avoiding these three mistakes, pressing too hard, rushing, and random colors, quickly lifts your coloring, alongside practicing the four techniques.
Frequently asked questions about techniques for beginners
What are the best coloring techniques for beginners?
Four techniques transform beginner coloring: color evenly in one direction, build up light layers, blend two colors where they meet, and add darker shading along edges for depth. These are easy to learn and instantly improve any coloring.
How do I make my coloring look less flat?
Add blending and shading. Blending merges colors smoothly instead of leaving flat blocks, and shading adds darker tones where shadows fall, giving depth. Together they turn flat coloring into rich, dimensional art. Even coloring in light layers helps too.
Why does my coloring look patchy?
Patchy color usually comes from random back and forth strokes or heavy pressure. Color in one consistent direction with overlapping strokes, and build up in light layers rather than pressing hard. This gives smooth, even color.
Do I need special supplies for these techniques?
No. These techniques work with any supplies, including basic colored pencils. Better supplies help with blending, but you can practice all four techniques with what you have. Start with what you own and upgrade later if you like.
How long does it take to improve at coloring?
You will see improvement quickly, since even coloring and light layering make an immediate difference. Blending and shading take a little more practice, but a few relaxed sessions build noticeable skill. Coloring improves steadily with enjoyable practice.
The takeaway on techniques for beginners
Four beginner techniques transform your coloring: even directional strokes, light layering, simple blending, and basic shading. Add thoughtful color choices, and your pages will look noticeably richer and more polished. These skills work with any supplies, are easy to learn, and build on each other. Practice one at a time, combine them gradually, and keep it enjoyable. With a little relaxed practice, anyone can color beautifully.
Ready to practice your new techniques? Browse our free printable coloring pages, from simple practice shapes to detailed designs. Every one is free to download and print.