Colored Pencil Layering and Burnishing (For Rich, Smooth Color)
Quick answer
Layering means building color in light, repeated passes so shades blend gradually; burnishing is a final firm pass — often with a light or colorless pencil — that presses those layers into a smooth, polished finish. Layer light to dark first, then burnish last. Together they give colored-pencil work rich, even color without harsh lines.
By the TheColoringPages.net team. Reviewed for accuracy, September 2026.
This guide to Colored Pencil Layering gives clear, practical answers, drawing on colored pencils and years of hands on coloring.
The secret to rich, professional colored pencil work lies in two techniques: layering and burnishing. Layering builds color in gentle passes for depth and blendability, while burnishing presses it all into a smooth, glossy finish. Together they transform flat, pale coloring into the deep, luminous color you see in skilled work. Both are learnable skills that reward a little practice.
This guide explains layering and burnishing, how to do each, the order to use them, and how to avoid common problems, so you can achieve rich, smooth colored pencil results.
Quick answer: Layering means building color in light, repeated passes. Burnishing means pressing hard, often with a light or colorless pencil, to blend the layers into a smooth, glossy finish. Layer first to build rich color, then burnish last to polish it. Softer, wax based pencils work best. This gives deep, smooth, professional colored pencil results.

Layering versus burnishing
Understanding the difference between these two techniques helps you use them well together.
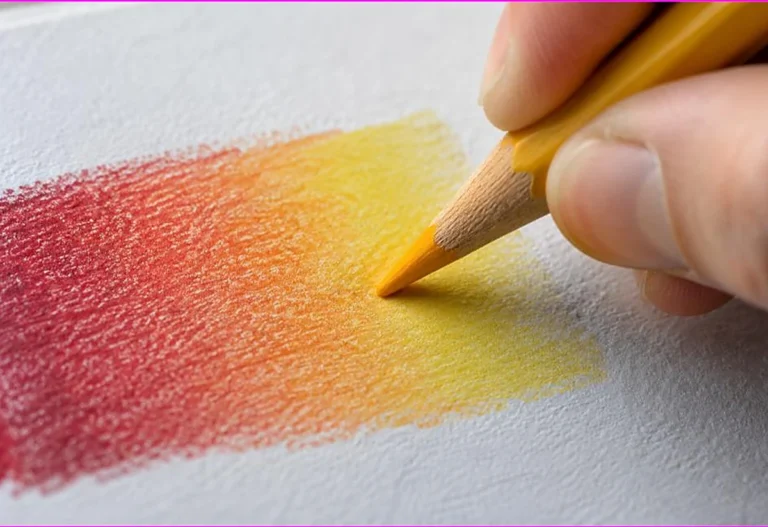
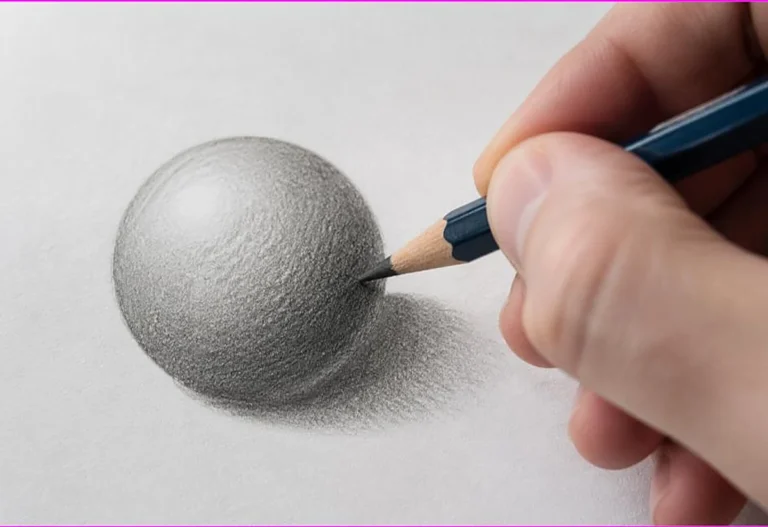
Layering is the process of building up color in multiple light passes rather than one heavy application. Each layer adds a little more pigment, gradually deepening and enriching the color. Layering is done throughout your coloring, building depth, and it is the foundation that makes blending and burnishing possible. Light, repeated layers give smooth, rich, controllable color.
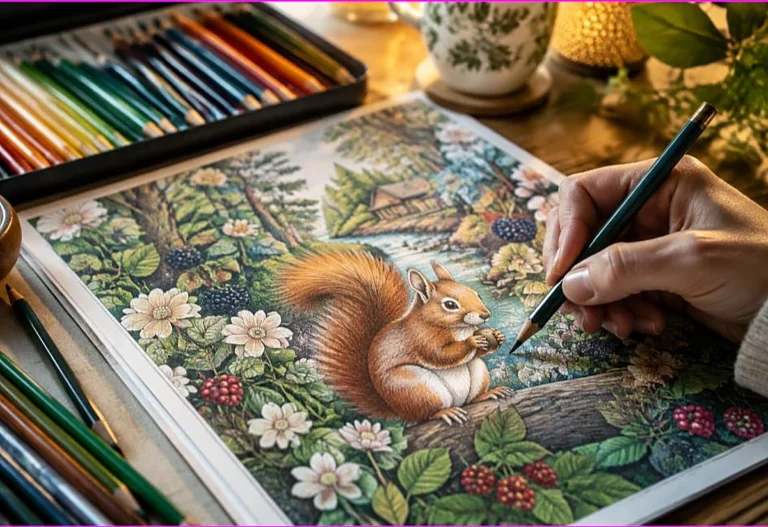
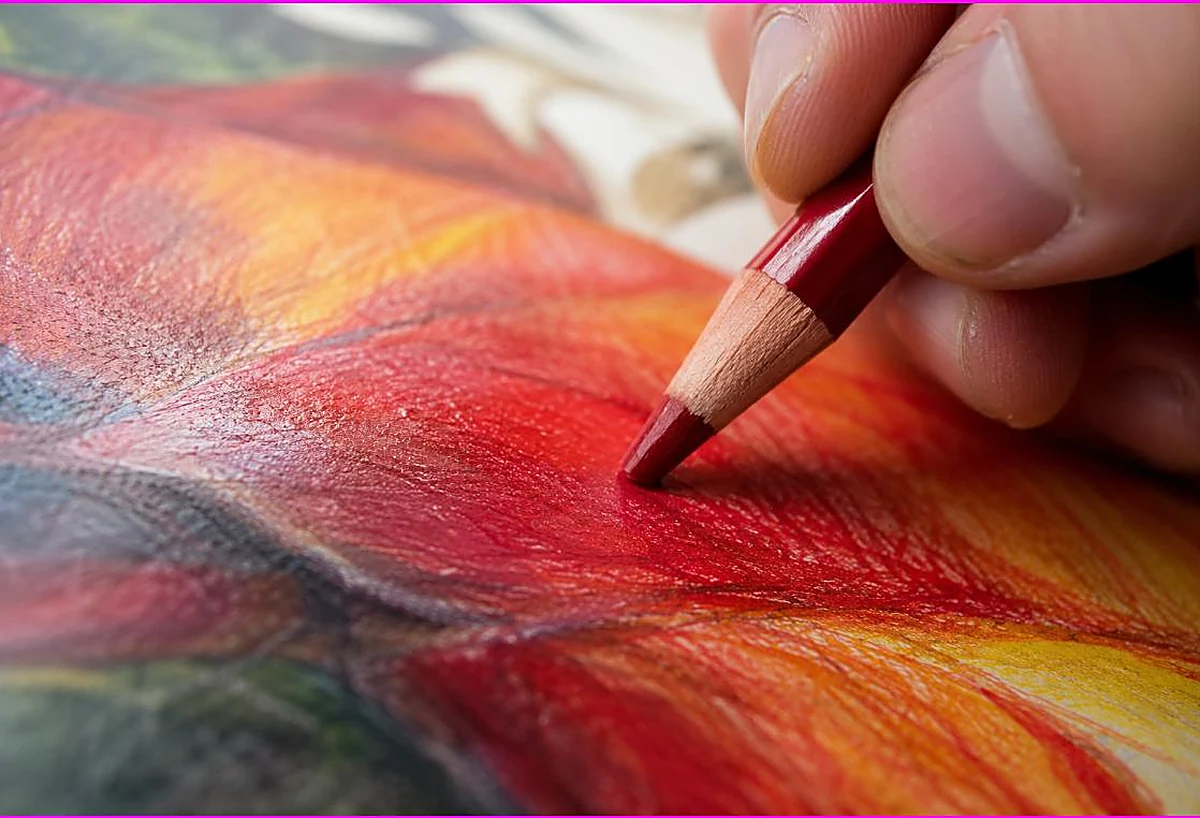
Burnishing is the finishing process of pressing hard to blend and smooth the layers into a glossy, polished surface. Where layering builds the color, burnishing merges and smooths it, filling the paper’s texture completely and giving a rich, almost painted finish. Burnishing is done last, after layering, since it compresses the paper and makes adding more color difficult.
So the two work in sequence: layer to build the color, then burnish to polish it. Layering is gentle and repeated, burnishing is firm and final. Together they create the deep, smooth color that flat, single pass coloring cannot achieve. Understanding this relationship, build with layers, finish with burnishing, is the key to rich colored pencil work. Our guide on how to blend colored pencils covers blending, which layering supports.
How to layer
Layering is the foundation, so it is worth doing well.
Use light pressure and build up color in multiple passes, rather than pressing hard to get color quickly. Each light layer adds pigment gradually, deepening the color while keeping it smooth and even. This gives you control over how dark the color becomes, and it leaves the paper’s texture partly open, which is important for adding more layers and for blending.
Build layers with consistent, even strokes, in the same direction or in small circles, to keep the color smooth. You can layer the same color to deepen it, or layer different colors to blend and create rich, complex color. Layering a base color, then a shadow color in the shadow areas, then perhaps a unifying color over the whole area, builds the depth and subtlety that make coloring look professional.
Patience is key to layering. It takes longer than pressing hard once, but the results are far richer and smoother. Building up gradually also lets you correct and adjust as you go, since light layers are more forgiving than heavy ones. Layering is the habit that underlies all rich colored pencil work, so it is worth practicing until it feels natural. Our guide on coloring techniques for beginners covers light layering as a core skill.
How to burnish
Burnishing is the finishing touch that makes layered color glow.
After building up your color in layers, burnish by going over the area with heavy pressure, which presses the pigment into the paper, fills the remaining texture, and merges the layers into a smooth, glossy surface. Use a light colored pencil, a colorless blender, or the lightest color already in the area to burnish, so you do not unintentionally darken the color. Press firmly and work over the whole area for an even finish.
Burnishing is done last, since the heavy pressure compresses the paper’s texture, making it hard to add more color afterward. So complete all your layering, blending, and shading first, then burnish to finish. The result is a rich, smooth, almost painted surface with deep, luminous color, quite different from the lighter, textured look of unburnished layers.
Burnishing gives the most polished, professional colored pencil finish, but it is not always necessary. Some coloring looks better with a softer, textured, unburnished finish, so burnish when you want that rich, smooth, glossy look. Practicing burnishing on a small layered area shows you the effect. With soft, wax based pencils, burnishing is especially effective and satisfying. Our guide on the best colored pencils for adult coloring covers pencil choice.

The order of operations
Getting the order right is important, since layering and burnishing must happen in sequence.
Work in this order: first layer your base colors lightly, building up the depth gradually. Then add shading and blending, layering darker tones in the shadows and blending transitions, still with light to medium pressure. Then, once all your color, shading, and blending are in place, burnish last to smooth and polish everything into a rich, glossy finish.
This order matters because burnishing compresses the paper, so it must come after all the color building. If you burnish too early, you cannot easily add more layers, shading, or blending afterward. Doing all the building first, then burnishing to finish, ensures you can develop the color fully before locking it in with the burnish. Think of burnishing as the final polish, not part of the building.
Following this sequence, layer, shade and blend, then burnish, gives the richest, smoothest results. It lets you build up complex, deep color and subtle shading, then unify and polish it all at the end. Getting the order right is one of the most important things in colored pencil technique, and it makes burnishing far more effective. Our guide on how to shade a coloring page covers the shading that comes before burnishing.
Avoiding wax bloom
Wax bloom is a common colored pencil issue, so knowing about it helps.
Wax bloom is a hazy, cloudy film that can appear over heavily layered or burnished wax based pencil work, as the wax in the pigment rises to the surface over time. It looks like a dull haze over your rich color, which can be alarming, but it is harmless and easy to fix. It happens most with soft, wax based pencils and heavy application, which is common with burnishing.
To remove wax bloom, simply wipe the area gently with a soft, lint free cloth or tissue, which buffs away the haze and restores the rich color underneath. This takes seconds and fully resolves the issue. So if your burnished work develops a haze, do not worry, just buff it away. It may reappear over time and can be buffed again.
To reduce wax bloom, you can use a fixative spray designed for colored pencils, which seals the surface and prevents the wax rising, though this is optional. Oil based pencils do not suffer wax bloom, so they avoid the issue entirely, which is one of their advantages. For most colorists, simply buffing away any bloom is all that is needed. Knowing about wax bloom means it will not surprise or worry you.
Best pencils and paper for these techniques
Your materials affect how well layering and burnishing work, so it helps to choose well.
Softer, wax based pencils are best for layering and burnishing. Their soft, creamy cores lay down plenty of pigment for rich layers and merge beautifully under burnishing pressure, giving the smoothest, most luminous finish. This is why brands like Prismacolor are favored for this style. Oil based pencils layer and burnish well too, with less wax bloom, though the finish is slightly less buttery. Our guide on the best colored pencils for adult coloring covers both types.
Paper matters too. Paper with some texture, or tooth, holds more layers of pigment, which is good for building rich color before burnishing. Heavier, quality paper also withstands the pressure of burnishing without tearing. Thin or very smooth paper holds fewer layers and can tear under burnishing, so heavier, slightly textured paper suits these techniques best. Our guide on the best paper for coloring pages covers paper.
So for the richest layering and burnishing, use soft, wax based pencils on heavier, textured paper. That said, you can practice these techniques with any pencils and paper, so start with what you have. Better materials make the techniques easier and the results richer, but the skills transfer. Good materials plus good technique give the deep, smooth color that makes colored pencil work impressive.

Practicing layering and burnishing
A little practice builds these techniques quickly, so a simple drill helps.
Practice layering by taking a small area and building up a color in several light passes, watching how it deepens and enriches with each layer compared to a single heavy pass. Then layer a second color over part of it to see how layering blends colors. This builds your feel for how layers build depth and blend, which is the foundation.
Then practice burnishing on a layered area. After building up your color, burnish over it with a light pencil or colorless blender, pressing firmly, and see how it smooths into a glossy, rich finish. Compare the burnished area to an unburnished layered area to see the difference. This shows you the effect of burnishing and how to control it.
Practice these on simple shapes or scrap paper, where you can focus on the technique. Try the full sequence, layer, shade, then burnish, on a small object to bring it all together. Regular, relaxed practice makes layering and burnishing feel natural, and the rich, smooth results are genuinely rewarding. Once comfortable, apply them to your coloring pages for professional looking color. Our collection of free printable coloring pages gives you designs to practice on.
Frequently asked questions about colored pencil layering
What is layering in colored pencils?
Layering means building up color in multiple light passes rather than one heavy application. Each layer deepens and enriches the color while keeping it smooth. Layering builds rich, controllable color and is the foundation for blending and burnishing.
What is burnishing?
Burnishing means pressing hard, often with a light or colorless pencil, to blend and smooth layered color into a glossy, polished finish. It fills the paper’s texture and merges the layers, giving a rich, almost painted look. It is done last.
Should I layer or burnish first?
Layer first, then burnish last. Build up your color, shading, and blending with light layers, then burnish to smooth and polish everything. Burnishing compresses the paper, so adding color afterward is difficult, which is why it comes last.
What is wax bloom and how do I fix it?
Wax bloom is a hazy film that can appear over heavily layered or burnished wax based pencil work as wax rises to the surface. It is harmless, and you fix it by gently wiping the area with a soft cloth, which restores the rich color.
What pencils are best for layering and burnishing?
Softer, wax based pencils are best, since they lay down plenty of pigment and merge smoothly under burnishing. Oil based pencils work well too, with less wax bloom. Use them on heavier, slightly textured paper that holds layers and withstands burnishing.
The takeaway on colored pencil layering
Layering and burnishing are the keys to rich, smooth colored pencil work. Layer to build color in light, repeated passes, developing depth, shading, and blending. Then burnish last, pressing firmly with a light or colorless pencil, to smooth everything into a glossy, luminous finish. Use soft, wax based pencils on heavier, textured paper, buff away any wax bloom, and follow the order: layer, shade, blend, then burnish. With these techniques, your colored pencil work gains the deep, smooth color of professional art.
Ready to build rich color? Browse our free printable coloring pages and practice layering and burnishing. Every one is free to download and print.