How to Color Like a Pro: Techniques for Every Level
Quick answer
The core coloring techniques are layering (building color in light passes), blending (smoothing where two colors meet), shading (adding darker tone away from the light), and burnishing (a firm final pass for a polished finish). Working in that order — light strokes first, detail last — turns flat line art into artwork with depth.
By the TheColoringPages.net team. Reviewed for accuracy, September 2026.
This guide to Color Techniques gives clear, practical answers, drawing on drawing and years of hands on coloring.
The difference between a flat, childlike coloring page and a rich, professional looking one comes down to a few learnable techniques. You do not need artistic talent to color beautifully. With a handful of skills, choosing colors that work together, coloring evenly, blending, and adding light and shadow, anyone can lift their coloring from basic to impressive. Best of all, learning these techniques makes coloring even more absorbing and satisfying.
This guide is your starting point for better coloring. It covers the core techniques and links to detailed guides for each, so you can build your skills at your own pace.
Quick answer: Better coloring comes down to a few skills: choosing colors that work well together, coloring in even layers, blending colors smoothly, and adding light and shadow for depth. These techniques work with any supplies and take your coloring from flat to rich. Start with even coloring and simple blending, then add shading as you grow.

Coloring basics
Before the advanced techniques, a few basics make every page look better.
Color in the same direction for even coverage. Moving your crayon or pencil in one consistent direction, rather than scribbling back and forth randomly, gives a smooth, even fill without patchy areas. This simple habit instantly improves how neat and finished your coloring looks.
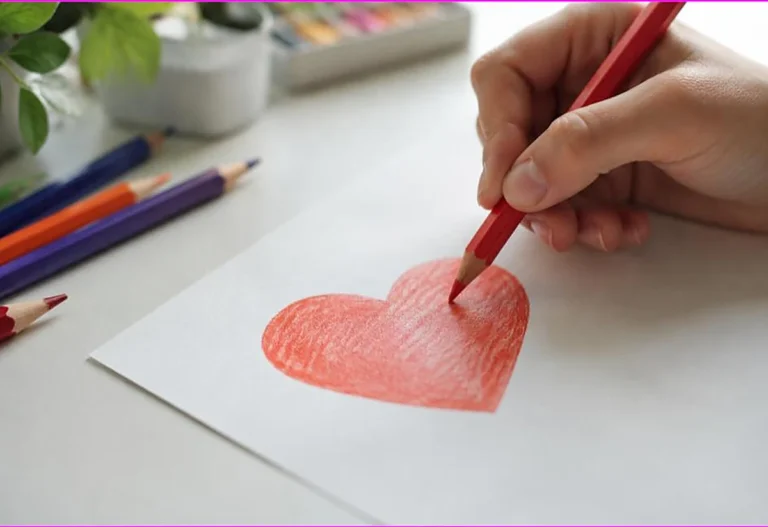
Use light pressure and build up color in layers, rather than pressing hard once. Light layers give more even color, are easier to blend, and let you control how dark the color becomes. Pressing hard from the start makes color patchy and hard to adjust. Our guide on coloring techniques for beginners covers these basics in depth.
Stay just inside the lines by outlining the edge of a shape first, then filling toward the center. This border then fill method keeps your color crisp and inside the lines. Our guide on how to color neatly covers this. These basics, even coverage, light layers, and neat edges, are the foundation everything else builds on.
Choosing colors that work together
Good color choices make a page look harmonious and professional, and there is a simple system behind it.
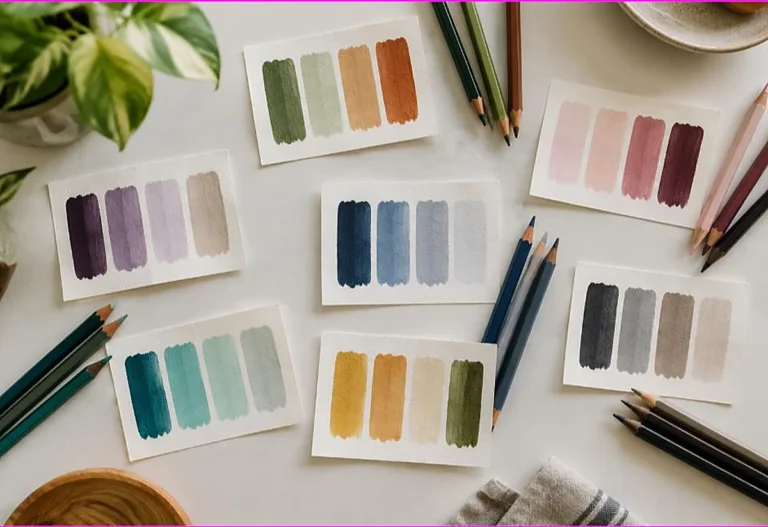
Color theory, based on the color wheel, helps you pick colors that work well together. The color wheel arranges colors so you can see their relationships. Complementary colors, opposite each other on the wheel, create bold contrast. Analogous colors, next to each other, create a calm, harmonious look. Our guide on color theory for coloring explains the wheel and these schemes.
You do not need to memorize color theory to use it. A few simple rules go a long way: pair one bright color with neutrals, use complementary pairs like blue and orange for contrast, or use analogous groups like blue, teal, and green for a cohesive feel. Our guide on what colors go together gives a cheat sheet of combinations that always work.
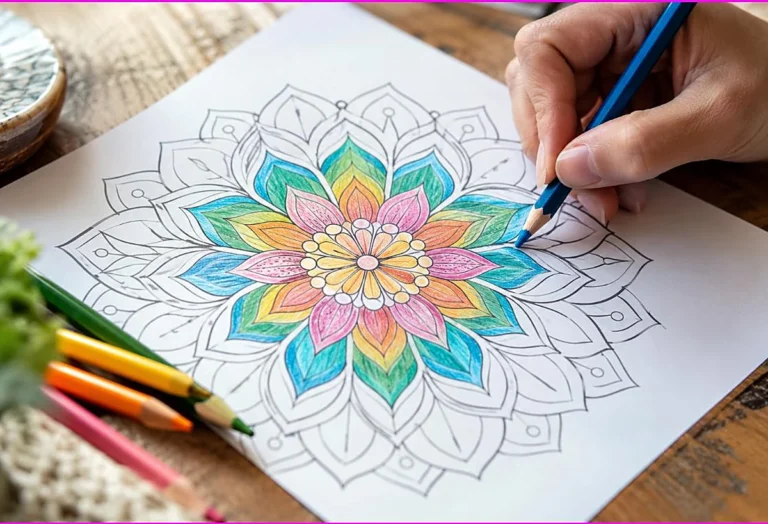
Planning your colors before you start also helps. Choosing a small palette of a few colors that work together, and using them across the page, gives a unified, intentional look, rather than a random jumble. This is especially effective for mandalas and patterns. A little thought about color makes a big difference to the finished result.
Coloring evenly
Even, smooth color is one of the clearest marks of skilled coloring, and it is easy to learn.
The key to even color is consistent, overlapping strokes in one direction, with light to medium pressure. Moving in the same direction and slightly overlapping each stroke avoids the gaps and lines that make color look patchy. Building up in light layers, rather than pressing hard, gives the smoothest result. Our guide on how to color large areas evenly covers this.
Different tools need slightly different approaches. With colored pencils, small circular motions or consistent light strokes give even color. With markers, keeping the tip moving and not letting sections dry between strokes prevents streaks. Matching your technique to your tool gives the smoothest fill.
Even coloring takes a little practice but quickly becomes habit. Once you can fill an area smoothly and evenly, your pages look noticeably more polished. This skill is the foundation for blending and shading, since both build on even, layered color. Master even coverage first, and the rest follows more easily.

Blending
Blending, merging colors smoothly, is what gives coloring its rich, professional look.
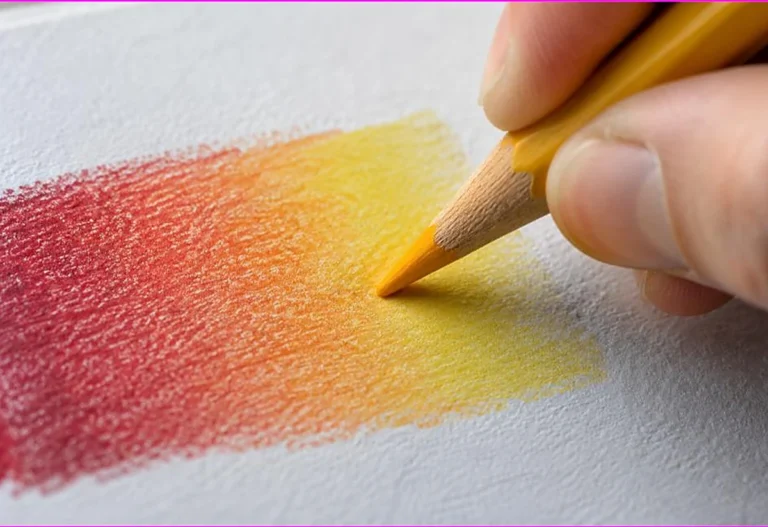
Blending creates smooth transitions between colors, rather than hard edges, which makes coloring look sophisticated. The technique depends on your tool. With colored pencils, you layer colors, overlap them where they meet, and smooth them with a lighter color, a colorless blender, or by burnishing. Our guide on how to blend colored pencils covers this.
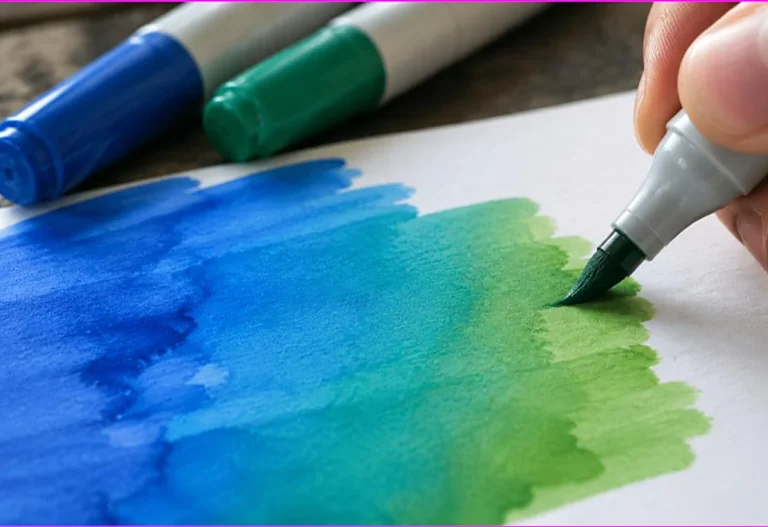
With markers, especially alcohol markers, you blend by working while the ink is wet, laying colors so they merge, and using a colorless blender to soften edges. Our guide on how to blend markers covers marker blending. Each tool has its own blending method, but the goal is the same: smooth, gradual transitions between colors.
Blending is where coloring becomes an art. A blended page, with colors flowing smoothly into one another and gradual shifts from light to dark, looks far richer than flat color. It takes practice, but even simple blending noticeably improves a page. Start with two colors merging where they meet, and build from there.
Shading and highlights
Adding light and shadow gives coloring a three dimensional, realistic look, and it is easier than it sounds.
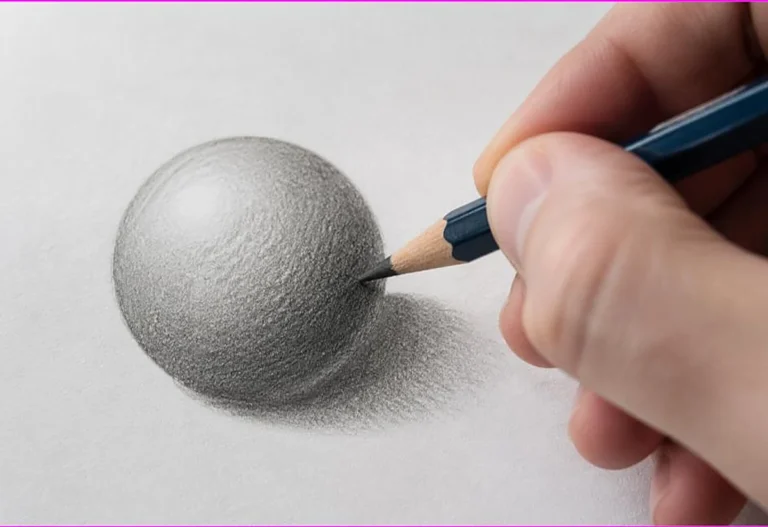
Shading means adding darker tones where shadows would fall, and keeping or leaving lighter areas where light hits. This creates the illusion of depth and form, making objects look rounded and real rather than flat. The key is to pick one direction for your light source, then darken the areas facing away from it. Our guide on how to shade a coloring page covers this.
Highlights are the lightest areas, where light hits directly. Leaving these light, or even white, against darker shaded areas creates contrast that makes a page pop. The interplay of light highlights and dark shadows gives coloring its three dimensional quality. Building shadows in layers of a darker tone, and keeping highlights light, is the technique.
Shading transforms coloring from flat filling into realistic art. It takes practice to judge where light and shadow fall, but even simple shading, darkening one side of an object, adds noticeable depth. Combined with blending, shading is what gives professional coloring its rich, lifelike look.
Techniques by supply
Different coloring supplies suit different techniques, so it helps to know what each does best.
Colored pencils are the most versatile for technique. They excel at layering, blending, burnishing, and detailed shading, which is why serious colorists favor them. Our guide on colored pencil layering and burnishing covers advanced pencil technique. Pencils suit anyone who wants control and rich, blended results.
Markers, especially alcohol markers, excel at smooth blending and bold, vibrant color. They blend into seamless gradients that pencils achieve only with effort. Markers suit bold, graphic coloring and quick, striking results. Gel pens add fine details, highlights, and effects like glitter and metallic on top of other coloring, as our guide on gel pens for coloring covers.
Matching technique to supply gets the best from each. Use pencils for detailed, layered, blended work, markers for bold blended color, and gel pens for finishing accents. Many colorists combine them, coloring with markers or pencils and adding gel pen details. Our guide on crayons versus markers versus colored pencils compares the main tools.
Building your skills over time
Coloring techniques are best learned gradually, so here is a sensible order to build your skills.
Start with the basics: even coloring, light layers, and neat edges. These make an immediate difference and are the foundation for everything else. Practice filling areas smoothly and evenly until it feels natural. Our guide on coloring techniques for beginners covers these first steps.
Next, learn simple blending, merging two colors where they meet, and basic color choices using simple color theory. These lift your pages from flat to richer, and they build on the even coloring you have practiced. Then add shading, choosing a light source and darkening the shadowed areas, which gives depth.
Finally, refine with advanced techniques: smooth blending across many colors, detailed shading with highlights, burnishing for a polished finish, and confident color schemes. Each builds on the last, so learning in order makes each easier. There is no rush, since coloring is enjoyable at every level. Building your skills gradually keeps it rewarding and fun. Our collection of free printable coloring pages gives you plenty to practice on.

Practicing your techniques
Like any skill, coloring techniques improve with practice, so a little regular effort pays off.
Practice one technique at a time rather than trying everything at once. If you are learning to blend, focus on blending across several pages before moving on to shading. Concentrating on one skill lets you build it properly, and it keeps learning from feeling overwhelming. Once a technique feels natural, add the next one to your repertoire.
Use simple pages to practice new techniques, and detailed pages to apply them once you are comfortable. A large, simple shape is perfect for practicing even coloring or blending, since you have room to work without fiddly detail. Mandalas and patterns are excellent for practicing color schemes and repetition. Our collection of free printable coloring pages spans simple practice pages and detailed designs.
Do not worry about perfection while practicing. Every colorist improves through pages that did not turn out quite right, since that is how you learn what works. Keep it relaxed and enjoyable, treat each page as practice rather than a test, and your techniques will steadily improve. The calming, absorbing nature of coloring makes this practice a pleasure rather than a chore, which is part of what makes coloring such a rewarding hobby. Our guide on whether coloring is a good hobby for adults covers growing your skills.
Frequently asked questions about color techniques
How can I color better?
Learn a few key techniques: color evenly in light layers, choose colors that work together, blend colors smoothly, and add shading for depth. These skills work with any supplies and take your coloring from flat to rich. Start with even coloring, then build up.
What are the most important coloring techniques?
The core techniques are even coloring, blending, and shading, along with good color choices. Even coloring gives a smooth base, blending merges colors smoothly, and shading adds depth. Together they make coloring look professional.
Do I need talent to color well?
No. Coloring well comes from learnable techniques, not talent. Anyone can learn to color evenly, blend, and shade with a little practice. The page provides the drawing, so your job is applying color skillfully, which is a skill you can build.
What supplies are best for coloring techniques?
Colored pencils are the most versatile for layering, blending, and shading. Markers excel at bold, smooth blended color. Gel pens add fine details and effects. Many colorists combine them, using each for what it does best.
How do I start learning coloring techniques?
Start with the basics: even coloring in light layers and neat edges. Then learn simple blending and color choices, then shading, then advanced techniques. Building your skills in order, at your own pace, makes each step easier and keeps it enjoyable.
The takeaway on color techniques
Coloring like a pro comes down to learnable techniques, not talent. Master the basics of even coloring and neat edges, choose colors that work together, learn to blend colors smoothly, and add shading for depth. Match your technique to your supplies, and build your skills gradually from basic to advanced. With practice, anyone can take their coloring from flat to rich and professional, and enjoy the absorbing process along the way.
Ready to build your coloring skills? Browse our free printable coloring pages and practice your techniques. Every one is free to download and print.